Hello dear Amigurumi Knitting Lovers
Today we share a free amigurumi crochet pattern for you. As you know, we share new amigurumi free patterns every day. master crochets, amigurumi gazelles, amigurumi bears, amigurumi pola, amigurumi pandas, amigurumi penguins, amigurumi giraffes, amigurumi lama, amigurumi pigs, amigurumi rabbit, amigurumi clowns, amigurumi dolls, amigurumi unicorn, amigurumi elephants, amigurumi unicorn , amigurumi hippos, amigurumi monkeys, amigurumi cats, amigurumi dogs and more…
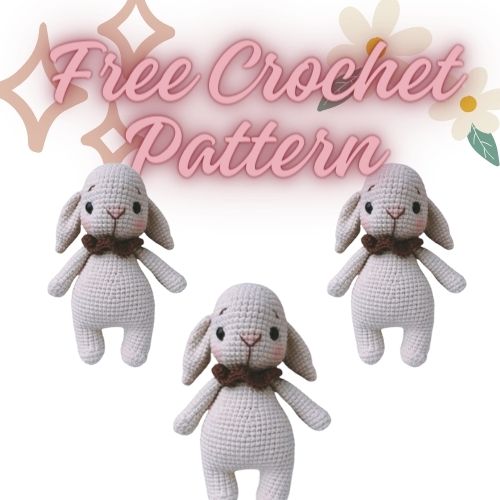
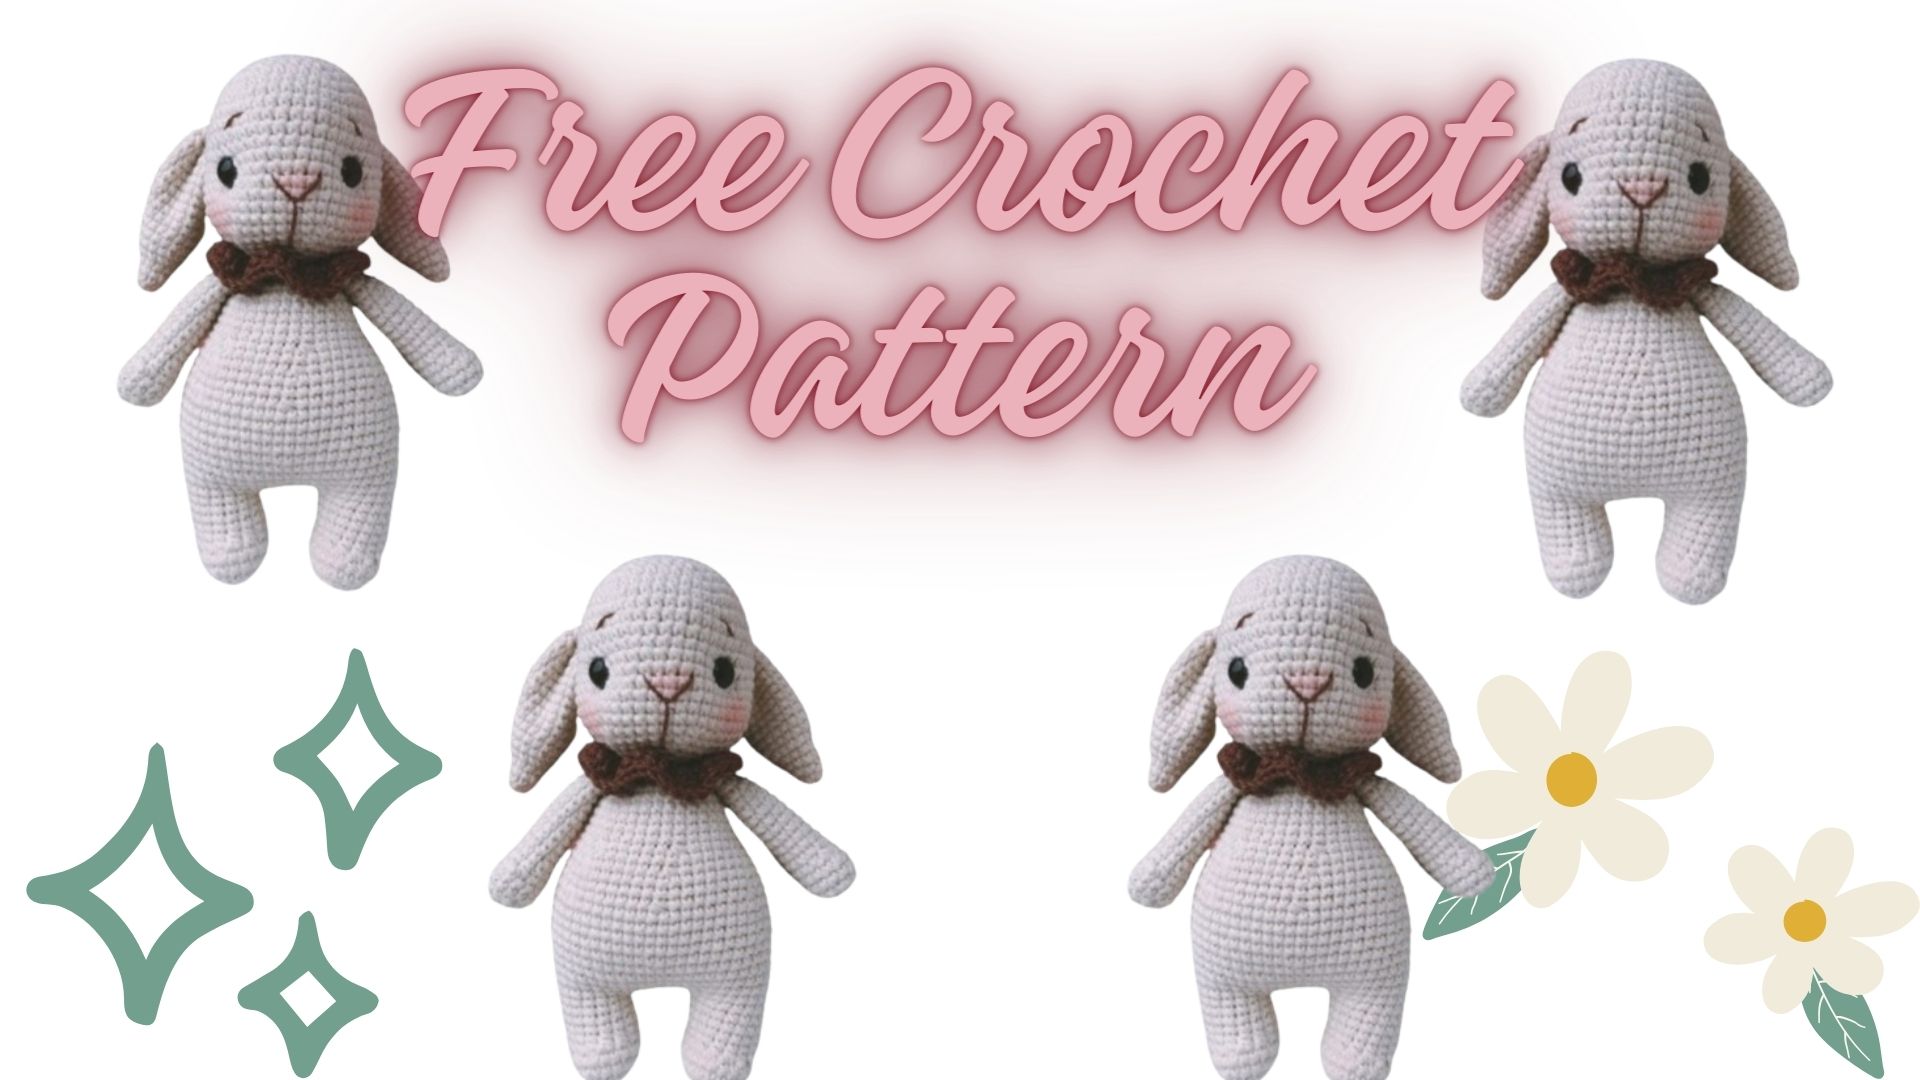
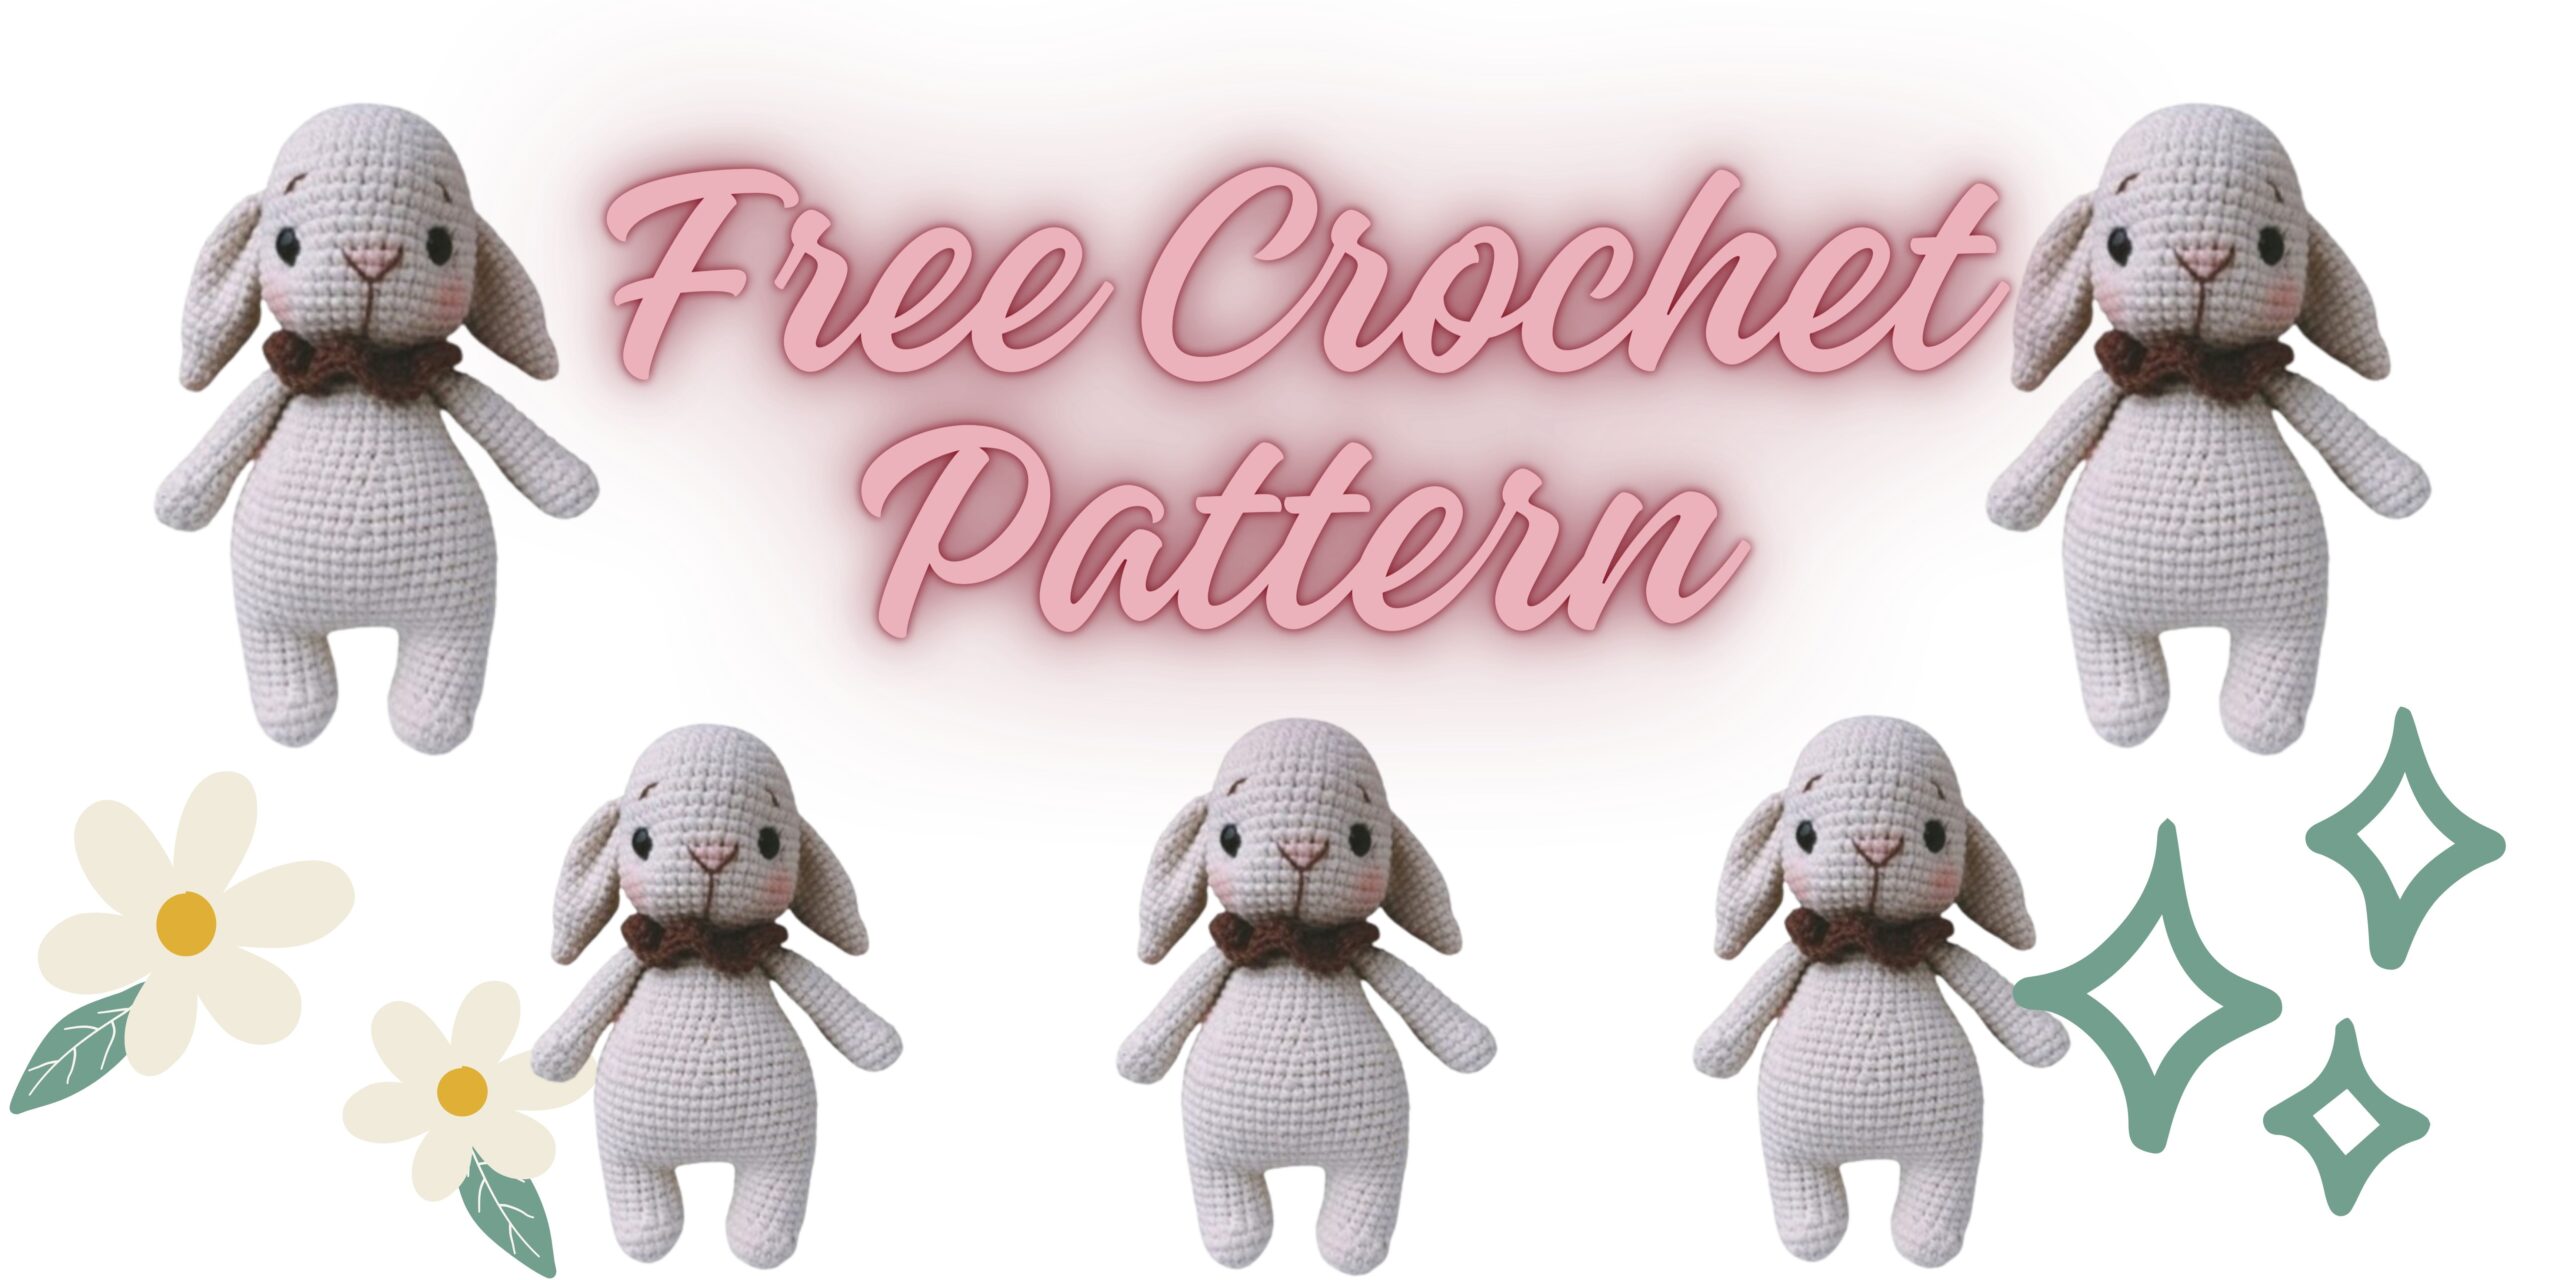
Today, the new daily crochet pattern Amigurumi, Cute Bunny Free Crochet Pattern , I want to give you some information about this pattern;

Materials:
Yarn: YarnArt Jeans (Color 05) or any other suitable yarn
Crochet hook: Size 1.75mm or any size you prefer
Safety eyes: 9-10mm
Polyester fiberfill
Yarn: Any color for the collar
Small amount of brown yarn for facial details
Needle, scissors
ABBREVİATİONS
ch – chain
sc – single crochet
dec – decrease
inc -increase
Head:
Stuff the piece as you crochet.
1: 6 SC in MR
2: 6 INC (12)
3: (1 SC, INC) x 6 (18)
4: (2 SC, INC) x 6 (24)
5: (3 SC, INC) x 6 (30)
6: (4 SC, INC) x 6 (36)
7: (5 SC, INC) x 6 (42)
8: (6 SC, INC) x 6 (48)
9-19: 48 SC (11 rows)
Insert eyes between rows 14 and 15, 12-13 SC apart (distance between leg fasteners).
20: (6 SC, DEC) x 6 (42)
21: (5 SC, DEC) x 6 (36)
22: (4 SC, DEC) x 6 (30)
23: (3 SC, DEC) x 6 (24)
Fasten off and leave a tail for sewing.
Ears:
Crochet two pieces.
1: 6 SC in MR
2: 6 SC
3: (1 SC, INC) x 3 (9)
4: 9 SC
5: (2 SC, INC) x 3 (12)
6: (3 SC, INC) x 3 (15)
7-17: 15 SC (11 rows)
Fold in half and crochet 7 SC across both sides. Fold again and make several stitches to shape the ear.
Arms:
Crochet 2 pieces, fill one-fourth.
1: 6 SC in MR
2: 6 INC (12)
3: 2 INC, 10 SC (14)
4-5: 14 SC (2 rows)
6: 2 DEC, 10 SC (12)
7-18: 12 SC (12 rows)
Fold in half and crochet 5 SC across both sides. Fasten off and leave a tail for sewing.
Legs and Body:
Fill legs and body as you crochet.
1: 7 SC in MR
2: 7 INC (14)
3: (1 SC, INC) x 7 (21)
4-5: 21 SC (2 rows)
6: 4 DEC, 13 SC (17)
7-9: 17 SC (3 rows)
10: 8 SC, SS – on the left leg, do not finish the row, ensuring the slip stitch is on the inner side for both legs to be the same length. Cut the yarn and fasten off.
The second leg is crocheted the same as the first, but in row 10, crochet 16 SC, do not finish the row, ensuring the SC ends on the inner side of the leg for both legs to be the same length. Do not cut the yarn, chain 7.
Legs and Body:
Join and crochet along the left leg.
11: 17 SC along the leg, 7 CH, 17 SC along the leg, 7 CH (48)
12: (7 SC, INC) x 6 (54)
13-21: 54 SC (9 rows)
22: (7 SC, DEC) x 6 (48)
23-24: 48 SC (2 rows)
25: (6 SC, DEC) x 6 (42)
26: 42 SC
27: (5 SC, DEC) x 6 (36)
28-31: 36 SC (6 rows)
32: (4 SC, DEC) x 6 (30)
33: (3 SC, DEC) x 6 (24)
34: 24 SC
Fasten off and cut the yarn.
Tail:
1: 6 SC in MR
2: 6 INC (12)
3-4: 12 SC (2 rows)
Fill with fiberfill.
5: 6 DEC (6)
Fasten off and leave a tail for sewing.
Collar:
57 CH (3 of them are for the turning chain). Turn and crochet the whole row with increases HDC.
Note! Our 3 CH for the turning = 1 HDC from the first increase (we do not crochet the entire chain of CH, as the remaining part is our first tie).
1 CH, turn.
Crochet SC without increases to the end of the row.
At the end of the row, crochet several SC from the side of the turning chains, and CH 30 (this will be the second tie).
Tie knots at the ends of the CH chains to secure the yarn, cut off the excess.
The collar is ready!
It is important to consider the density of the CH chains, orient yourself and measure the neck circumference of your toy.
Give the collar the desired shape to make it wavy.
Note!
For the facial details, I use split yarn YarnArt, you can use iris.
Make the weight with yarn matching the yarn.
I make the first weight by introducing the yarn at the bottom of the head, into the filler, and pulling it out there.
Since I fill my toys very tightly, the weight holds. But if this method doesn’t work for you, make a weight in your usual way.
Facial Details:
Divide the YarnArt thread, or take iris and embroider the nose at rows 16-17. The nose should be symmetrical relative to the eyes.
Make the first weight:
Introduce the yarn from the bottom into the head, pull it out at point 1, introduce it at point 2.
Pull the needle down from where you started.
Pull out at point 3, introduce at point 4. Pull the yarn down, make an even weight of both eyes, holding them with your fingers. Do not pull too hard!
Tie a couple of knots.
Facial Details:
Second weight
Insert the yarn into point 1, pull it out at point 2.
Insert into 3, pull out at 4. Insert into 5, pull out at 1.
Tie a couple of knots, let the weight sink inside. Cut off the yarn, hide it inside.
Assembly:
Sew the head to the torso.
Sew the arms on the sides, close to the head.
Sew the ears in row 11. Sew them NOT strictly on the sides, but on the contrary. Slightly back.
To prevent the ears from sticking out to the sides, sew them to the head, as shown in the photo.
In the back, between the ears, ~11 SC.
Sew the tail to the back.
Tint the cheeks and nose.